I strongly believe, side dishes are cuisines in itself and most often, holds as much importance as main dishes. They not only elevate the taste of a meal but also, an intrinsic part of some. I mean, can you imagine relishing Biryani fully without the raita or kachumbar or even salan (thin gravy) by its side. I, for one, don’t! Some refreshes your taste buds while some other brings spark to a meal. Especially, the tangy, spicy or mildly hot, full of umami dip kinds. Umm…my mind veers towards such mouth watering side dishes like raitas, chutneys, salsas… and “Coconut Raita” or “Dahi (Nadia) Pachadi” is one of them.
Basically, Pachadis of various kinds are a staple in Southern part of India. But, we Odias love our tangy side-dishes as well. They hold a special place in our meals. I shall talk about the varieties at length in some other post lest, I get carried away. Coming back to the point, “Dahi Pachadi” as we call it, has also been very much a part of our kitchen since my childhood. The combination of coconut and yogurt is not only refreshing but has a character to it. I remember mom making it frequently for my grandparents because I come from a place where coconut trees are grown in abundance. Recently, I rustled it up too and have been intending to blog but procrastinated. Sigh!
Read on for the recipe!
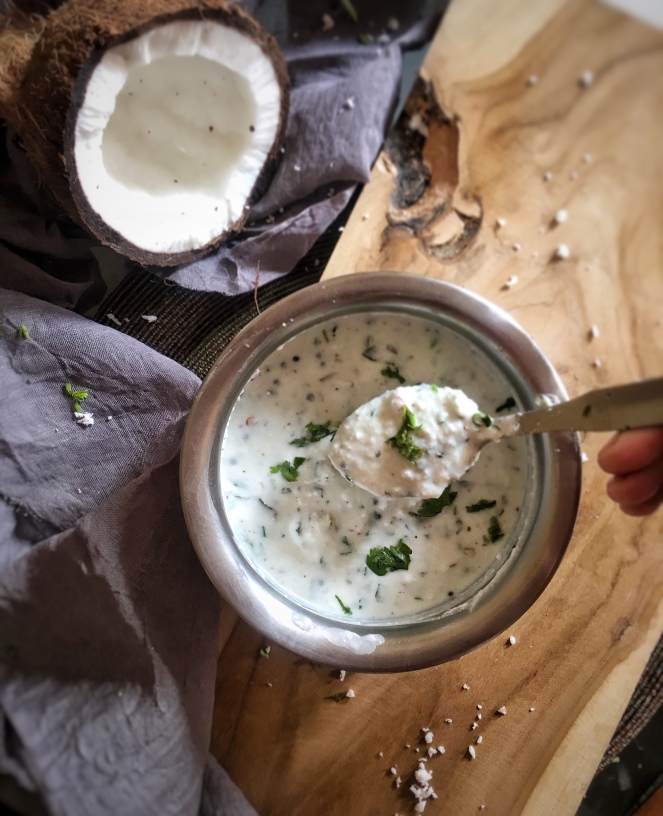
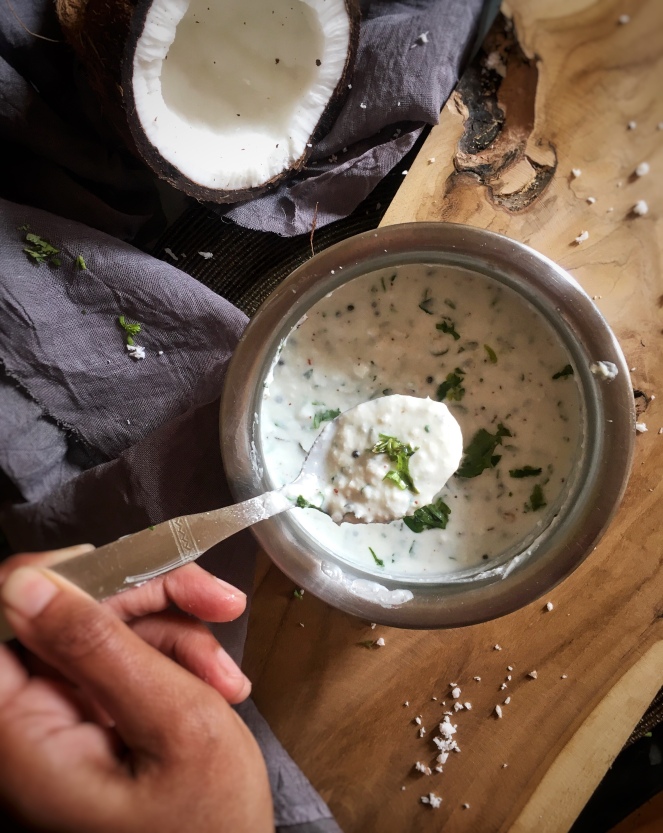
Dahi Pachadi
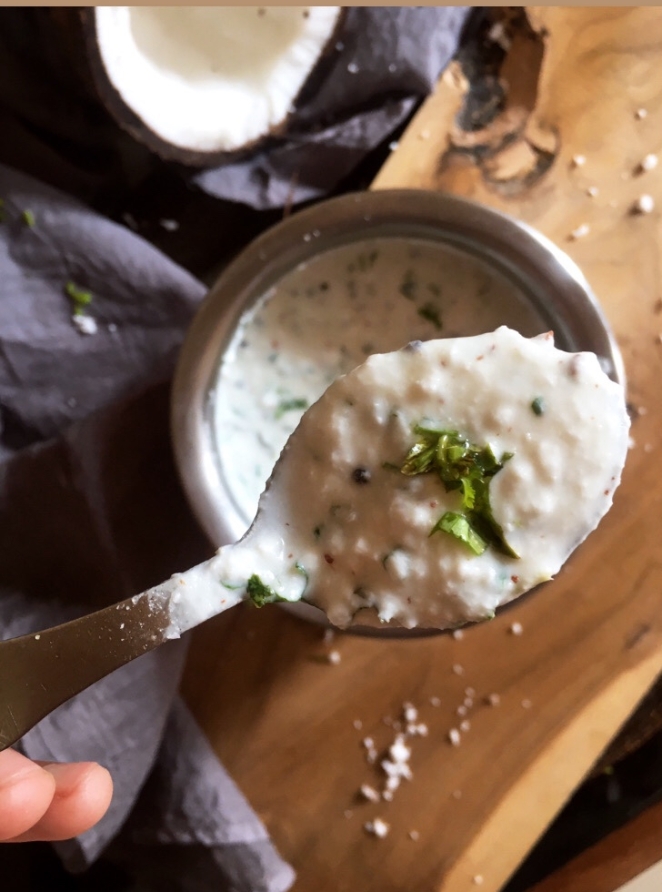
While the “Pachadi” in South India is cooked with yogurt, coconut and veggies and also served as a side dish, Dahi Pachadi is made out of thick yogurt, desiccated coconut and few other condiments. You can call it “Coconut Raita” as well. One can savour it with rice or can have it with paratha and sabzi or bhaja. It just jazz up the meal like any refreshing side dish. Oh! How I love it.
Ingredients Required:
- Desiccated Coconut – 1 Cup
- Thick fresh Yougurt/curd – 100 gms
- Chopped Green Chilies – 1-2 (depends on how hot you wish to make it)
- Chopped Coriander leaves – 2 tablespoons
- Mustard Seeds – 1/2 teaspoon
- Dry Red Chilli – 1
- Curry Leaves – 10-12 leaves
- Oil for tempering – 1/2 teaspoon
- Salt to taste
Method Of Cooking:
- Pour the yogurt in a bowl and give it a gentle whisk.
- Add the desiccated coconut, chopped coriander leaves and green chillies in it.
- Add salt to taste and mix everything well.
- In a small pan, heat oil. Once hot, add mustard seeds, add dry red chilli and curry leaves.
- Once, mustard seeds splutter, switch off the flame and add the tempering in the yogurt mixture.
- Mix well. Sprinkle some more finely chopped coriander leaves for garnishing.
- Savour it in lunch with your meal.
Ah, one thing to remember here, use freshly grated coconut if available to make “Dahi Pachadi” or “Coconut Raita”. Trust you me, it makes all the difference. That milky coconuty flavour when amalgamates with the fresh curd / yogurt, it just tastes really great, especially, after the tempering. So, if you wish to enliven your tastebuds and conceal the blandness of a meal, Dahi Pachadi can be one of your quick fixes and a healthier one at that. Like I mentioned earlier, I love to have it with both my rice and roti, paratha kind of meals. I hope you do too, once you make it.
If you liked this post and wish to know about more such side dishes, raitas or dips that can be whipped up in no time, do let me know in the comment section. I’d so love to share. 🙂
Till then, Happy Munching & Keep Smiling! Tada. 🙂
Love,
Shobhna
 Paying visits to home to be with my folks is always oxygenating to me. I may not be a little kid anymore, but I always am all agog to be with family like a kid for it is my ultimate and irreplaceable cocoon. Home, after all is a place where I can be just “Me” without the fear of being judged.
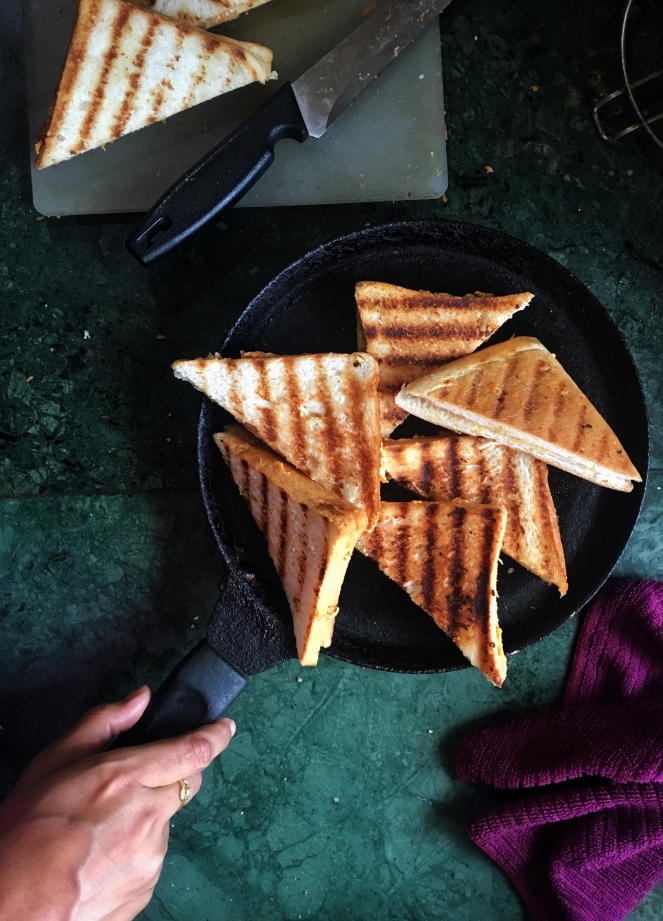
 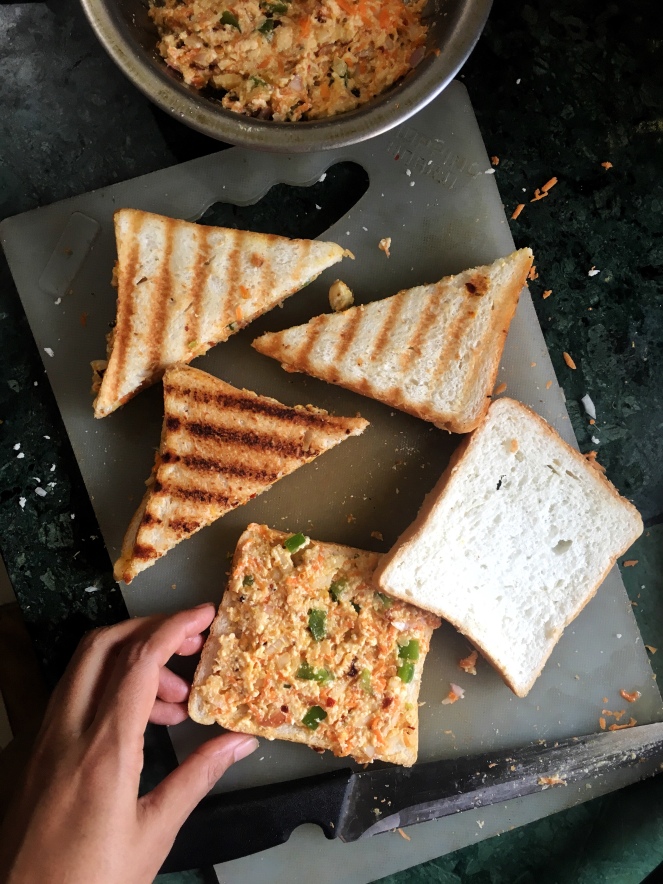 It was not for the first time I was making these sandwiches and the thought of posting the recipe on the blog somehow never really crossed my mind, until I rustled them up that day at home. (It’s probably because good quality cheese curd is easily available in Odisha, India). The mind blowing taste was compelling enough and so were the pictures. Irresistible I say!!! You shall nod in agreement too once you make it yourself. It had a creamy “Melt-in-mouth” kind of a texture, had veggies and I can more or less term it as healthier than other sandwiches. What’s not there to love you see? Oh, how I heart these Pan Grilled Creamy Cheese Curd sandwiches!